
40mm Zone A: Mount Dashcams to Pass MOT and ICO Checks for UK Fleets
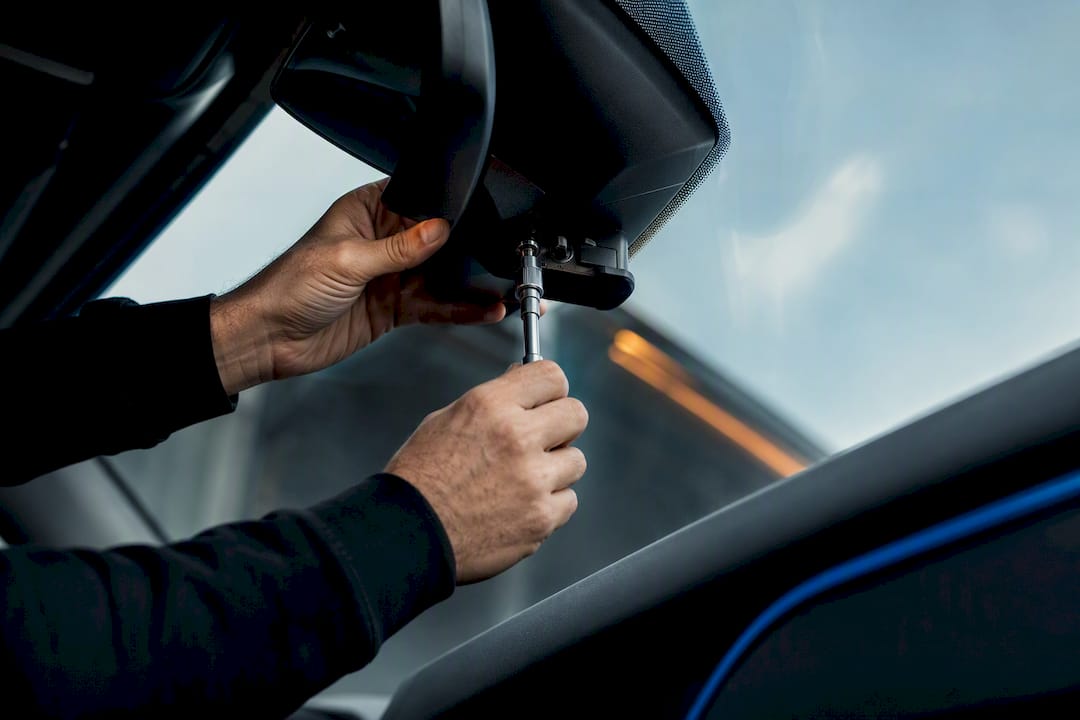
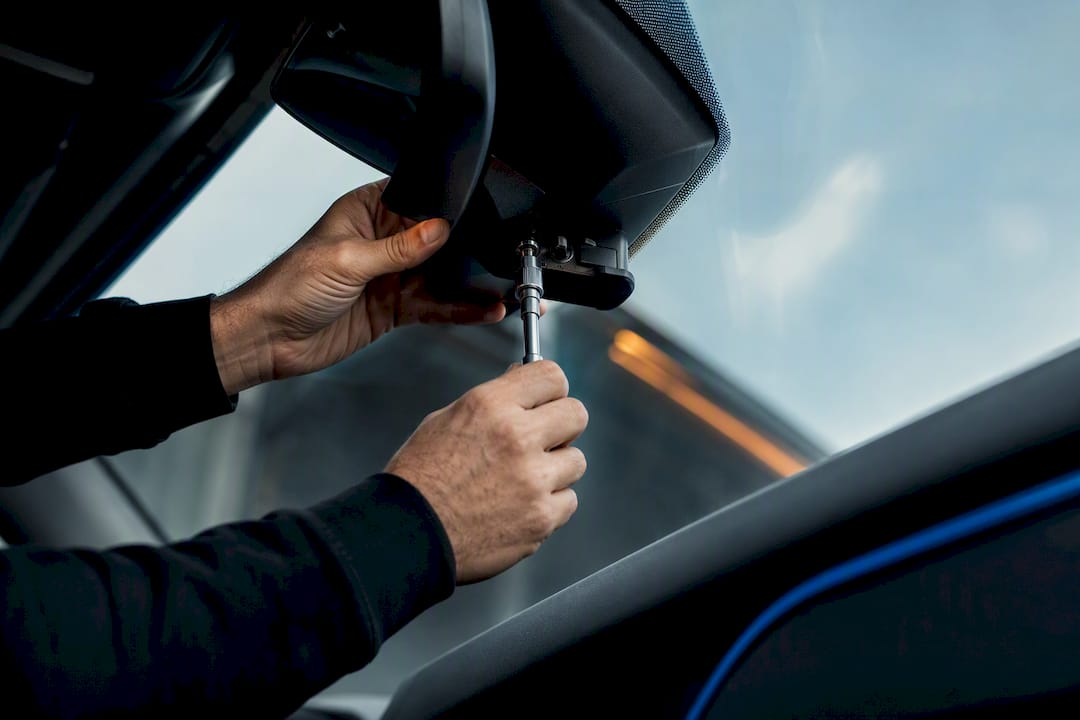
Mount forward-facing dashcams high and central, directly behind the rear-view mirror, keeping the unit outside the commonly referenced intrusion limit into the wiper-swept area. That single decision solves most MOT and Highway Code risk. Before you switch a single unit on, run a Data Protection Impact Assessment and register with the ICO if required, because dashcam placement in UK fleets is as much a data-governance question as a mounting one. Support is available for fleet dashcam rollout.
TL;DR:
- Dashcams on commercial vehicles should be mounted high and centrally behind the mirror, outside Zone A, to avoid MOT failures and stay within legal limits.
- UK fleets processing systematic footage must register with the ICO, publish privacy notices, and handle data securely to prevent fines or complaints.
- Hardwiring for parking-mode recording is more reliable than plug-in adapters, and mounting should follow vehicle-specific templates to withstand vibration and temperature swings.
- Initial pilots on representative vehicles help calibrate sensitivity, verify connectivity, and ensure footage quality before fleet-wide deployment.
- Clear policies on footage retention, driver briefings, and access logging are essential to protect data compliance and maintain driver trust.
Table of Contents
- Placement by vehicle type: vans, HGVs and specialist bodies
- What are the UK legal limits on dashcam placement?
- How should fleets wire and mount dashcams for durability?
- How do you calibrate and pilot dashcams before full rollout?
- What policies should govern dashcam footage and access?
- Environmental and vibration factors that affect image quality
- Getting the field of view right for each vehicle type
- Keeping installations reliable after go-live
- Placement that doesn’t fight your ADAS and mirrors
- Why placement discipline pays off long after installation
- How Fleetalyse supports compliant dashcam rollouts
- Where to check the official rules
- Sources
- FAQ
Placement by vehicle type: vans, HGVs and specialist bodies
There’s no single mounting template that works across a mixed fleet. A transit van and an 18 tonne rigid have different sight lines, different blind spots, and different legal obligations, so treat placement as a design exercise per vehicle class rather than a copy-paste job.
Vans and light commercials generally need one forward-facing lens, mounted centrally behind the mirror. That keeps the camera outside Zone A and lets it capture both carriageways without duplicating what the driver already sees. Where vehicles carry passengers, or where cash, tools, or high-value goods create theft risk, add a second rear or cabin-facing channel.
HGVs carry heavier obligations. Since October 2024, HGVs above certain weights entering Greater London must meet Direct Vision Standard star ratings or run the Progressive Safe System, which typically includes nearside camera monitoring. If your routes touch London, nearside coverage isn’t optional extra kit, it’s the difference between compliant and grounded. Beyond London, blind-spot risk on the nearside and rear still justifies multi-camera setups on most rigid and articulated vehicles.
Specialist bodies, tippers, refuse vehicles, recovery trucks, often need rear or 360 degree coverage because reversing incidents dominate their claims’ history. Match camera count to the job:
- Single forward lens: vans, light commercials, low-risk urban delivery routes.
- Forward plus nearside: HGVs operating in DVS/PSS zones or with known blind-spot exposure.
- Multi-channel MDVR: HGVs, specialist bodies and any vehicle where insurers or courts may need multi-angle evidence.
- Cabin-facing channel: passenger-carrying vehicles or driver-behaviour coaching programmes.
Our dash cam for lorry buyer’s guide covers mounting templates for specific HGV body types in more depth.
What are the UK legal limits on dashcam placement?
Two frameworks govern where a dashcam can physically sit, and one governs what it can record. Get either wrong and you risk an MOT failure or an ICO complaint, both of which cost far more to fix retrospectively than to plan for upfront.
Windscreen placement is judged against Zone A and Zone B definitions used in MOT testing. Zone A covers the area swept by the wipers directly in the driver’s primary sightline; anything obstructing it is likely to fail an MOT inspection. Guidance often refers to an approximate intrusion limit for devices fitted near this zone, which is why mounting behind the mirror, rather than low-centre or off to one side, remains the safest default.
Data protection is the second checklist, and it’s the one operators overlook most often:
- Establish a lawful basis for recording before a single vehicle goes live.
- Register with the ICO and pay the data protection fee if your processing falls within scope.
- Publish a privacy notice explaining what’s recorded, why, and for how long.
- Build a process for handling subject access requests from drivers, other road users, or members of the public captured on camera.
- Keep audio recording switched off by default and document any exception in your DPIA.
Registration reality check: the ICO’s own guidance states plainly that businesses using dashcams need a lawful basis, must notify people they’re recording, and must handle footage securely, failure on any of these can trigger a complaint or fine.
A DPIA becomes mandatory, not optional, once recording extends beyond casual incident capture into systematic monitoring, continuous cabin-facing footage, or anything that could be read as employee surveillance. At that point, loop in your DPO, HR, and employee representatives before deployment, not after a grievance lands on your desk.
How should fleets wire and mount dashcams for durability?
Wiring decisions determine whether your dashcam still works in eighteen months, or whether it’s a warning light nobody’s investigated since March. Get the electrical side wrong and you’ll lose parking-mode footage exactly when you need it most.
Hardwire versus plug-in comes down to whether you need continuous or parking-mode recording. A cigarette-lighter plug is fine for basic forward capture during driving hours, but if you want coverage while the vehicle is stationary overnight, hardwiring into an ignition-switched circuit or accessory fuse is the only reliable route. RAC installation guidance recommends professional hardwiring specifically to avoid battery drain and warranty complications, both of which are easy to trigger with a careless fuse-tap job.
Wiring and mounting checklist for fitters:
- Tap power from an ignition-switched fuse, never a permanently live circuit, unless the unit has a built-in low-voltage cutoff.
- Route cables inside window trims and A-pillar covers rather than leaving them exposed across the dashboard.
- Use vibration-resistant adhesive mounts rated for commercial vehicle use, not consumer-grade suction cups.
- Protect connectors from moisture ingress at any point the harness runs near door seals or the windscreen edge.
- Follow a vehicle-specific mounting template rather than eyeballing position, especially across a mixed fleet with different windscreen rakes.
Pro Tip: Photograph every installation once complete, cable routing, mount position, and fuse tap point, and file it against the vehicle record. When a unit fails eighteen months later, that photo saves an hour of guesswork for whoever’s troubleshooting it.
Run a post-fit inspection covering torque on any mechanical fixings, adhesive cure time before the vehicle returns to service, and a functional test confirming the unit powers up correctly on ignition and shuts down cleanly. Our dash camera fitting guide walks through the full pre-fit and post-fit sequence in more detail.
How do you calibrate and pilot dashcams before full rollout?
Fit five to ten representative vehicles first, covering your main route types and body styles, before committing to a fleet-wide order. That pilot tells you whether footage quality holds up, whether ADAS and driver-monitoring sensitivity is set correctly, and whether connectivity performs where your vehicles actually operate.
Sensitivity settings need adjusting to your operating environment. A DMS calibrated for motorway running will fire constant false alerts on stop-start urban delivery routes, and the reverse is equally true. Video-telematics integration guidance recommends calibrating to the actual duty cycle rather than accepting factory defaults.
Before scaling beyond the pilot, confirm:
- Cellular coverage and 4G fallback behaviour on your typical routes, including known dead zones.
- Event-triggered upload actually reaches your platform without manual intervention.
- Integration points with your existing fleet management system are tested, not assumed.
- Role-based access controls are configured so footage access matches who genuinely needs it.
Poorly calibrated units generate noise that erodes driver trust and buries genuine incidents under false alerts, undermining the entire safety case for the programme.
What policies should govern dashcam footage and access?
Technology without policy is a liability waiting to surface at an employment tribunal or an ICO audit. Four elements matter most:
- State your lawful basis and retention period in writing. Many fleets default to deleting routine footage after around a week unless an incident flags it for longer retention, document that threshold rather than leaving it to individual judgement.
- Brief every driver before go-live. Cover what’s recorded, why, how to request footage relating to themselves, and how off-duty or personal-use switch-off works if the vehicle sees any private mileage.
- Signpost passenger recording clearly. Inside-vehicle signage plus a link to your published privacy notice covers both legal disclosure and practical reassurance.
- Log access and disclosure. Every time footage is pulled, reviewed, or shared, for insurance, HR, or law enforcement, record who accessed it and why, ready for an ICO audit or subject access request.
Our fleet dash cam guide includes template wording for driver notifications and retention policies you can adapt.
Environmental and vibration factors that affect image quality
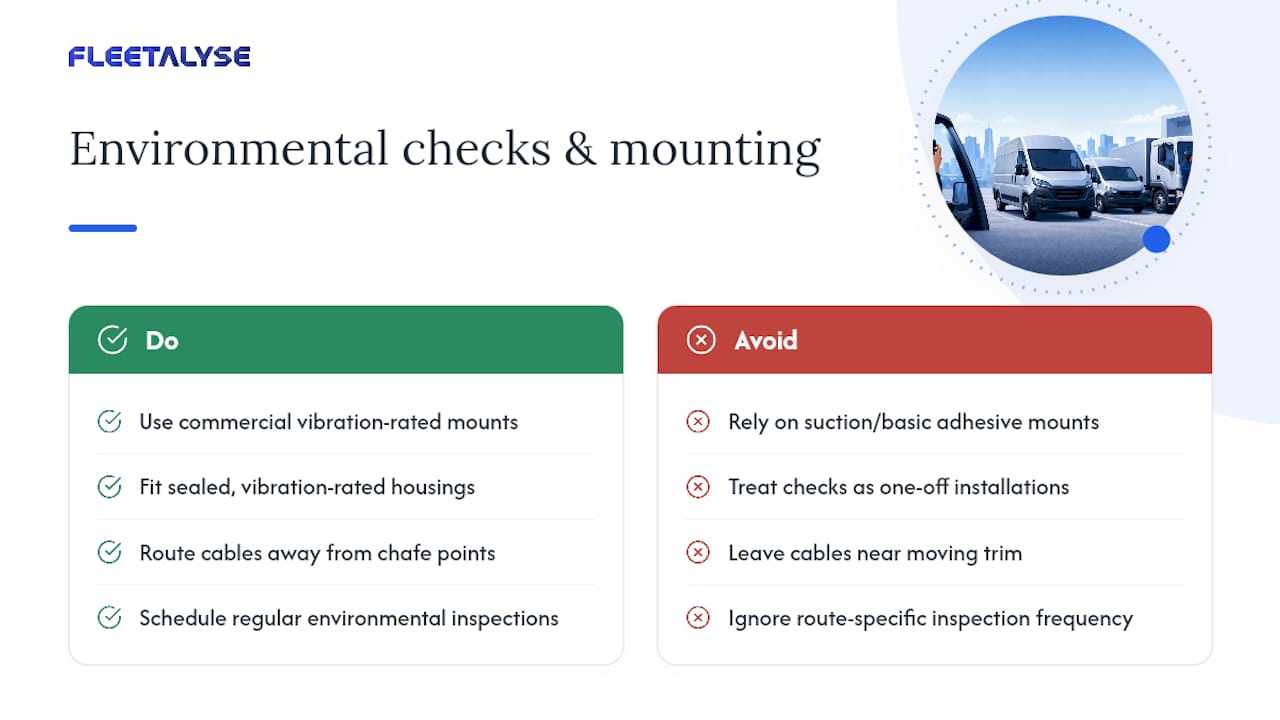
UK commercial vehicles take a battering that consumer dashcam specifications rarely account for. Constant road vibration from HGV suspension, cobbled yards, and motorway expansion joints loosens standard adhesive mounts over months, gradually shifting the camera’s field of view without anyone noticing until footage from an incident shows the wrong angle.
Temperature swings compound the problem. A windscreen-mounted unit can sit in direct summer sun exceeding 60°C inside a parked cab, then drop to sub-zero overnight in winter depots. Cheaper sensors and lenses degrade faster under that cycling, showing washed-out footage in bright conditions or excessive noise in low light. Condensation is the quieter risk, moisture ingress around housing seals corrodes connectors long before the camera itself fails, which is why sealed, vibration-rated housings matter more for commercial fleets than for private cars doing occasional motorway runs.
Refuse vehicles, tippers, and off-road capable vans see the most severe vibration loads, and standard suction or basic adhesive mounts routinely fail within weeks on these bodies. Vibration-resistant mounts rated specifically for commercial use, combined with cable routing that avoids chafe points near moving trim, extend service life considerably. Route planning matters too: vehicles running unmade yards or construction sites daily need more frequent mount inspections than motorway-only trunking vehicles.
Build environmental checks into your maintenance schedule rather than treating them as one-off installation concerns. A mount that passed inspection in April can work loose by October after a summer of vibration and heat cycling.
Getting the field of view right for each vehicle type
Field of view isn’t just about seeing more, it’s about seeing the right things without drowning footage in irrelevant detail. A wide-angle lens that suits a box van’s short bonnet can distort footage on a long-nose HGV, pulling focus away from the actual point of impact in an incident.
For vans and light commercials, a lens angle capturing both lanes ahead without excessive fisheye distortion gives the clearest evidential footage. Mount height matters as much as angle here: too low, and the bonnet dominates the frame; too high, and you lose useful road detail in the first few metres ahead of the vehicle.
HGVs benefit from a slightly narrower forward angle paired with dedicated nearside coverage, rather than trying to stretch one wide lens across the whole field. The nearside blind spot on a rigid or articulated vehicle is a different problem to forward visibility, and treating them as one job with one camera compromises both.
Rear-facing and cabin-facing channels need separate consideration entirely. A rear camera on a tipper needs to see the full width behind the vehicle during reversing manoeuvres, which often demands a wider angle than the forward unit. Cabin-facing lenses for driver monitoring need enough field of view to capture head position and attention without capturing more of the cab than necessary, over-capture here creates unnecessary data protection exposure under your DPIA.
Keeping installations reliable after go-live
A dashcam that worked perfectly at installation can develop faults within months if nobody’s watching for early warning signs. Build routine checks into existing vehicle inspection cycles rather than creating a separate maintenance regime nobody follows.
Weekly or fortnightly visual checks, alongside existing walkaround inspections, catch the obvious problems: a mount that’s shifted, a cable that’s come loose from a trim clip, a lens obscured by dirt or condensation. These take seconds and prevent small issues becoming missing footage during an actual incident.
Common faults and their usual causes:
- No footage on review: often a loose SD card or failed storage media, check card health monthly rather than waiting for a failure.
- Distorted or shifted field of view: usually a worked-loose mount from vibration, retighten or replace the adhesive pad.
- Random power cycling: typically a fuse-tap connection working loose, a fault more common on vehicles with high vibration exposure.
- False ADAS alerts increasing over time: recalibration drift, revisit sensitivity settings rather than assuming the unit is failing.
- Connectivity dropouts: check whether route changes have introduced new coverage dead zones since the original pilot.
Keep a simple fault log per vehicle rather than relying on drivers to report issues verbally. Patterns across a fleet, the same fault recurring on the same vehicle type or route, point to a systemic fixing or calibration issue worth addressing at scale rather than firefighting unit by unit.
Placement that doesn’t fight your ADAS and mirrors
Modern commercial vehicles increasingly carry ADAS sensors integrated into or near the windscreen, and a dashcam mounted without checking for conflicts can blind both systems at once. Before fitting, identify exactly where forward-facing radar, lane-departure cameras, or automatic emergency braking sensors sit, they’re typically clustered near the mirror mount, which is precisely where dashcam installers default to.
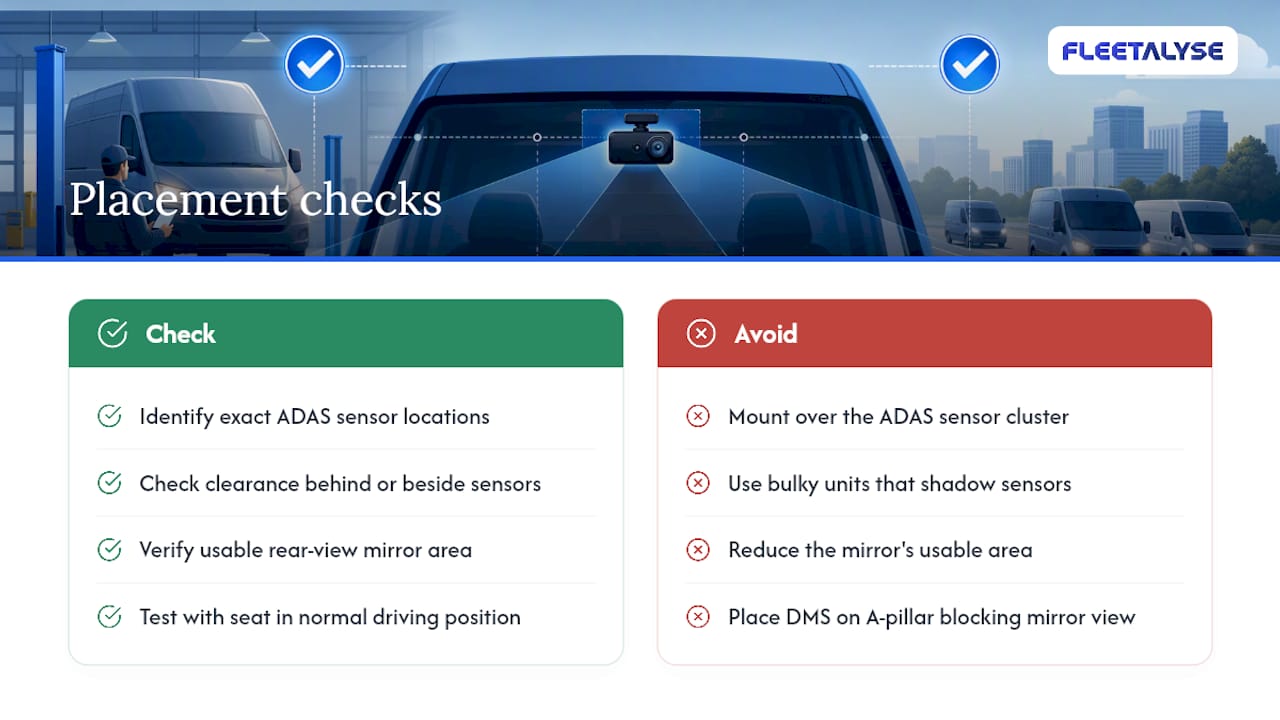
The fix isn’t to abandon the behind-mirror position, it’s to check clearance first. Most factory ADAS housings leave enough room for a slim dashcam mounted just behind or to the side of the sensor cluster, but bulkier units or poorly positioned brackets can physically shadow the sensor’s field of view, degrading lane-keeping or collision-warning performance without triggering an obvious fault code.
Mirror obstruction is the more visible risk. A dashcam and its cabling shouldn’t reduce the usable area of the rear-view mirror itself, nor should the housing sit low enough to intrude into the driver’s sightline over the top of the dashboard. Check the fitted position from the driver’s seat, not just from outside the vehicle, before signing off an installation.
For cabin-facing driver-monitoring cameras, positioning needs a second check: confirm the unit doesn’t obstruct the driver’s view of their own mirrors, particularly the interior mirror, since a DMS camera badly placed on the A-pillar or windscreen edge can create a blind spot of its own. Test the full installation with the seat in its normal driving position, adjustments made with the seat racked back rarely reflect real driving conditions.
Why placement discipline pays off long after installation
Correct placement isn’t a box-ticking exercise, it’s what determines whether footage holds up when an insurer or court actually examines it. A camera fitted outside Zone A, calibrated to its operating environment, generates fewer false alerts and clearer evidence than one bolted on without a pilot.
Video paired with telematics data tells you more than footage alone ever could, harsh braking context, route risk, driver coaching opportunities. The projects that succeed treat the DPIA, the pilot, and the driver policy as inseparable from the hardware decision, not paperwork tacked on afterwards.
— Vytautas
How Fleetalyse supports compliant dashcam rollouts
There are UK-based routes to compliant dashcam deployment that do not require hiring a separate installer for every project stage. Where DIY fitting risks getting the DPIA, the wiring, and the placement checks done in isolation from each other, Some telematics hardware and platforms are designed around compliance frameworks, retention settings, driver hours monitoring, and reporting that can stand up to ICO or DVSA audits.
Our 4G smart dash camera hardware is designed for straightforward fitment across mixed fleets, and it connects directly into driver behaviour monitoring so footage and telematics data sit in one place rather than two separate systems you’re trying to reconcile after an incident. For pilots across a handful of vehicles, contacting a service provider for installation guidance and a tailored demo may be helpful.
Where to check the official rules
For legal certainty, go directly to the source: the ICO’s dashcam and UK GDPR guidance, RAC’s installation advice, and independent transport compliance resources like Ridescouts’ regulatory guide.
This article is general information, not a substitute for advice from a qualified lawyer. Consult a qualified legal professional about your own circumstances before acting on anything here.
Sources
- Dashcams and UK GDPR: what small businesses need to know
- Dash cams guide and installation advice | RAC
- Integrating fleet dashcams into fleet management: a step-by-step guide
FAQ
Where Should a Dashcam Be Mounted on a Commercial Vehicle?
Mount forward-facing dashcams high and central behind the rear-view mirror, keeping the unit outside the 40mm intrusion limit into the wiper-swept Zone A area.
Do UK Fleets Need ICO Registration for Dashcams?
Many fleets processing footage systematically need to register and pay the data protection fee; the ICO’s guidance confirms lawful basis and notification are required regardless of registration status.
Do HGVs Need Extra Cameras Beyond a Forward-Facing Unit?
HGVs operating in Greater London under the Direct Vision Standard or Progressive Safe System typically need nearside camera coverage, and many operators add rear or multi-channel MDVR setups for blind-spot risk fleet-wide.
Should Dashcam Audio Recording Be Switched On by Default?
No, ICO guidance recommends audio off by default, with any activation justified through a DPIA and documented in policy.
How Long Should Fleets Retain Dashcam Footage?
Common practice is a short default retention, often around a week, for routine footage with clear exceptions extending retention when an incident occurs.